Shower drains are an essential component of any bathroom, allowing water to flow freely down the drain and preventing it from pooling on the floor. Over time, shower drains may become clogged or damaged, requiring removal and replacement. In this article, we will guide you through the step-by-step process of removing a shower drain, ensuring a smooth and hassle-free experience.
Tools and Materials Needed
Before you begin the removal process, gather the following tools and materials:
- Screwdriver (flathead or Phillips, depending on the drain cover)
- Pliers
- Drain removal tool (if needed)
- Lubricant (such as WD-40)
- Bucket or container for debris
- Cleaning brush or wire hanger
- Hot water and vinegar solution
Preparing for the Removal
To start, turn off the water supply to your shower. This will prevent any accidental leaks or water damage during the removal process. Clear the surrounding area of any personal items or toiletries to provide ample space to work. Once you have done that, it’s a good idea to consult a bathtub drain diagram to familiarize yourself with the various components involved in the removal process.
Removing the Shower Drain Cover
Shower drain covers come in various types, such as snap-on covers, screw-on covers, or lift-and-turn covers. To remove the cover, follow these steps:
- For snap-on covers, insert a flathead screwdriver between the cover and the drain opening. Gently pry the cover upwards until it pops off.
- For screw-on covers, use a screwdriver (flathead or Phillips) to remove the screws securing the cover in place. Once the screws are removed, lift the cover off.
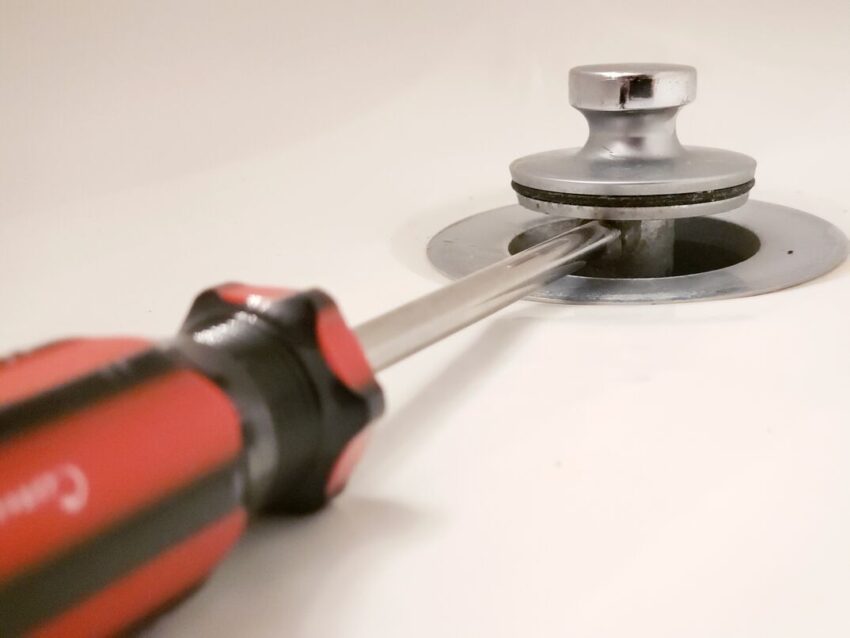
- Lift-and-turn covers require you to twist them counterclockwise before lifting. Insert a flathead screwdriver into the slots provided and rotate it to unscrew the cover. Once loosened, lift it off.
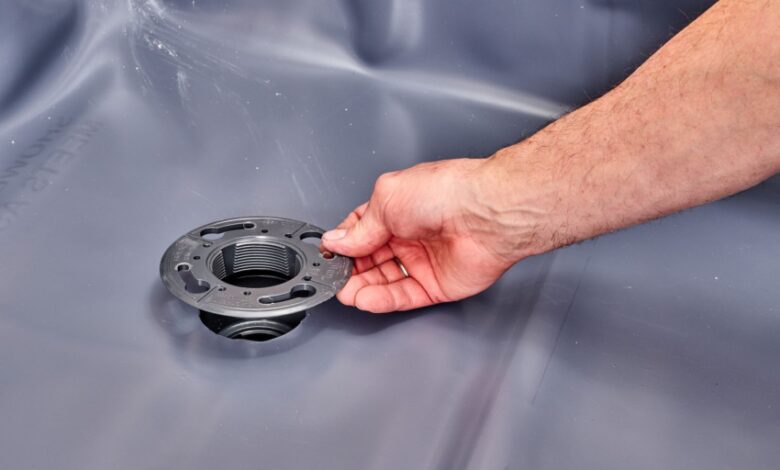
Detaching the Drain Body
After removing the drain cover, you’ll need to detach the drain body from the shower floor. Follow these steps:
- Access the drain body by removing the screws or bolts that hold it in place. The screws are typically located underneath the drain cover. Use a screwdriver or a wrench to remove the screws or bolts. Set them aside in a safe place as you will need them later for the installation of the new drain.
- Once the screws or bolts are removed, you may need to loosen the drain body. Depending on the tightness, you can use pliers or a specialized drain removal tool. Insert the tool into the drain body and rotate it counterclockwise to loosen it. If the drain body is stuck, you can apply some lubricant, such as WD-40, to help ease the removal process.
- With the drain body loosened, it’s time to remove it completely. Carefully lift the drain body straight up, applying even pressure. Be cautious not to damage the surrounding shower floor or plumbing pipes.
- As you remove the drain body, take a moment to inspect it for any clogs or debris. Use a cleaning brush or a straightened wire hanger to clear away any accumulated gunk that may have contributed to the drain’s poor performance.
- Now that you have successfully removed the old shower drain, it’s important to clean the drain and pipes thoroughly. Use a drain snake or auger to remove any remaining clogs or blockages. For a deeper clean, prepare a mixture of hot water and vinegar and pour it down the drain. Allow it to sit for a few minutes before flushing it with more hot water.
- When it comes to installing a new shower drain, ensure you choose a suitable replacement that matches the size and style of your previous drain. Follow the manufacturer’s instructions for installation, as the process may vary depending on the specific drain model.
- After installing the new drain, it’s crucial to test its functionality. Run water into the shower and observe if there are any leaks. Ensure that water flows smoothly down the drain without any pooling or slow draining.
- To prevent future clogs and maintain optimal drain performance, consider incorporating regular maintenance practices. Implement a cleaning routine using drain-safe products to keep the drain clear of debris. Additionally, using drain covers and strainers can help catch hair and other particles, preventing them from entering the drain and causing blockages.
Conclusion
Removing a shower drain may seem like a daunting task, but with the right tools and knowledge, it can be accomplished successfully. Regular maintenance and cleaning of your shower drain are essential to prevent clogs and maintain a smoothly functioning bathroom plumbing system. By following the step-by-step guide provided in this article, you can confidently remove and replace your shower drain, ensuring a refreshing and enjoyable shower experience.
You may like to read How Old Do You Have To Be To Drive A Golf Cart?